FFMQAL: Zig-Zag Feathers Tutorial
Here today with a tutorial on how to quilt zig-zag feathers!
So I bet you're wondering, what are zig-zag feathers and why are they so awesome? (Yes. Yes you were.)
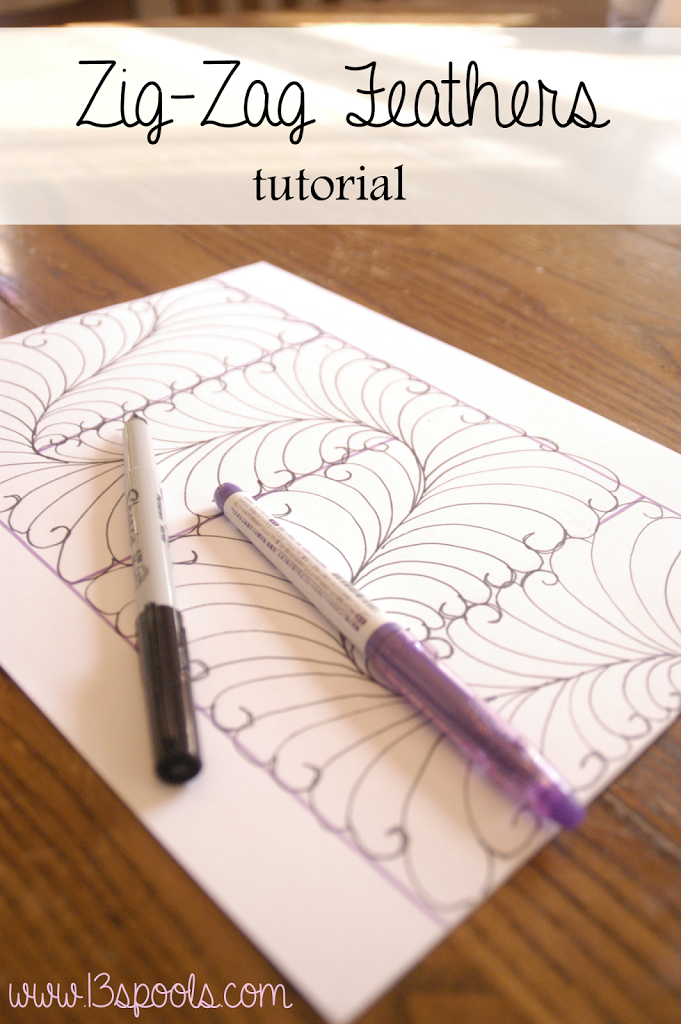
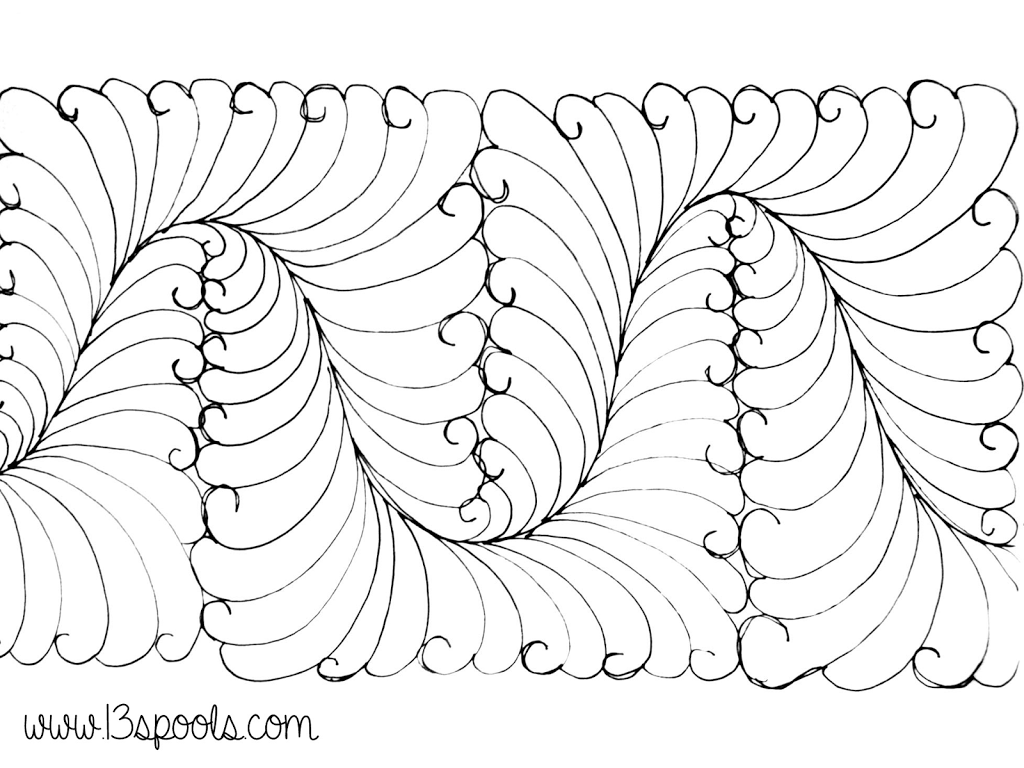
Well, this is what I'm calling a zig-zag feather:
In comparison to a "regular" feather:
And zig-zag feathers awesome because:
- You can use them to quickly and easily cover an entire quilt without leaving any blank areas - basically, a feather filler.
- You have a path drawn out and you know where you are going.
- The motions used to quilt feathers are long and fluid, and therefore fast and easy on your muscles (I find them easier than stippling).
Alrighty, so bear with me here - after you get the hang of this, it is not tricky at all! I'm going to use paper and pen to show you how this is done - the purple is what you would mark on the quilt, and the black is what you would actually quilt.
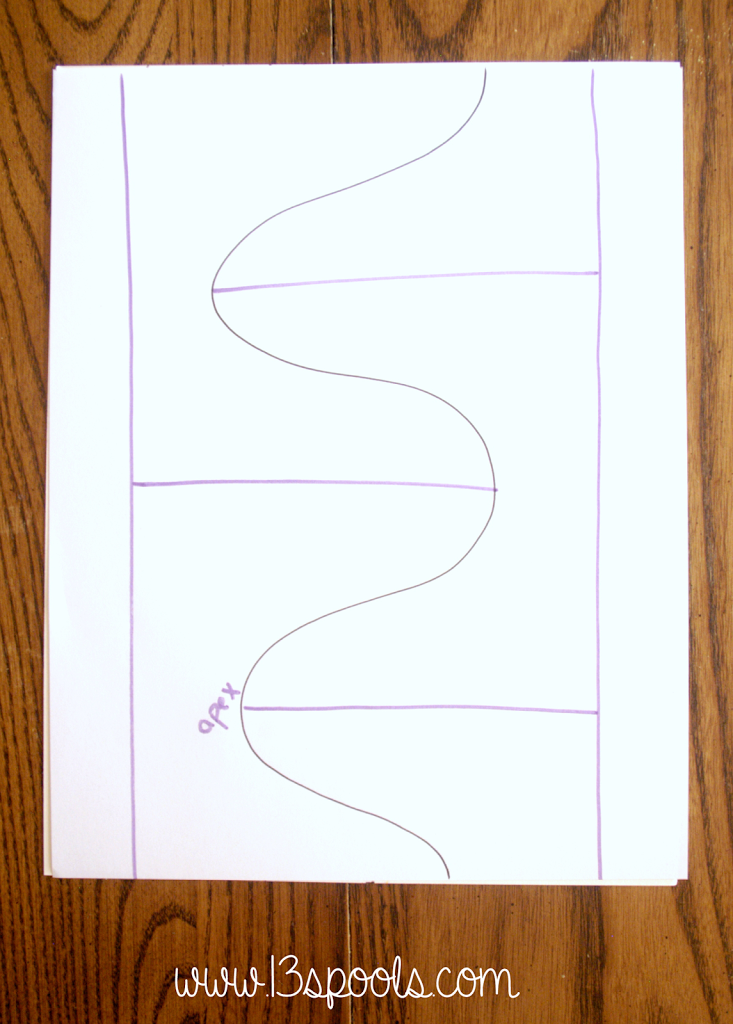
Step 1 | Mark your stem & edges
If you are quilting within a border, or using your piecing as a guide, you will not need to mark these outer lines. If you are using this as a more relaxed, overall pattern, then the outside guides are there to help, but don't need to be followed exactly.
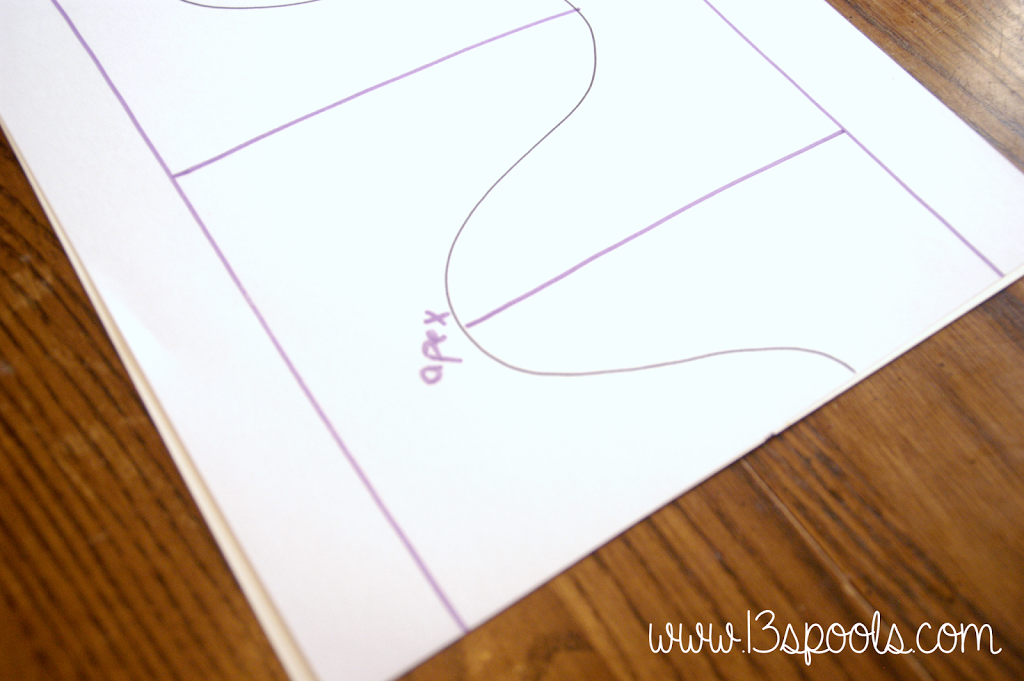
Step 2 | Find the apexes and mark horizontal guides
The apex is the peak of the curve. You'll want to draw lines perpendicular to the apexes of all the curves (concave side only) as shown.
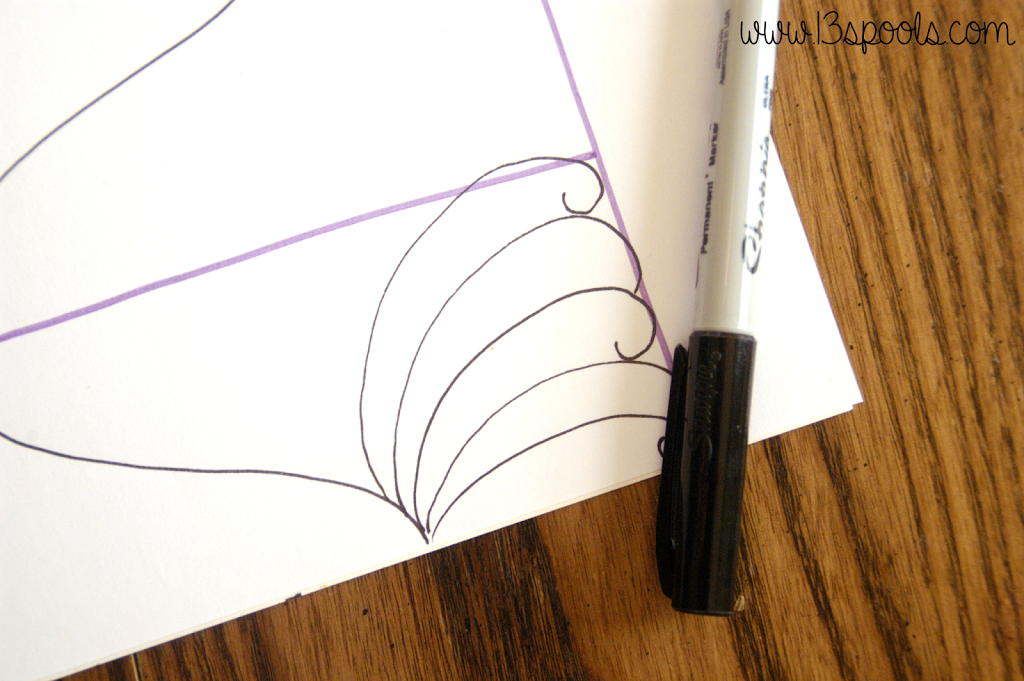
Step 3 | Quilt petals up to the marked corner, following the horizontal guide
Time to quilt! Start out quilting your feather normally, making sure your feathers hit the guideline marked on the side. The last petal should approximately hit the corner.
Note: You can also make your petal smaller or larger, or go just beyond or just short of the guide, if the petal isn't going to hit just right.
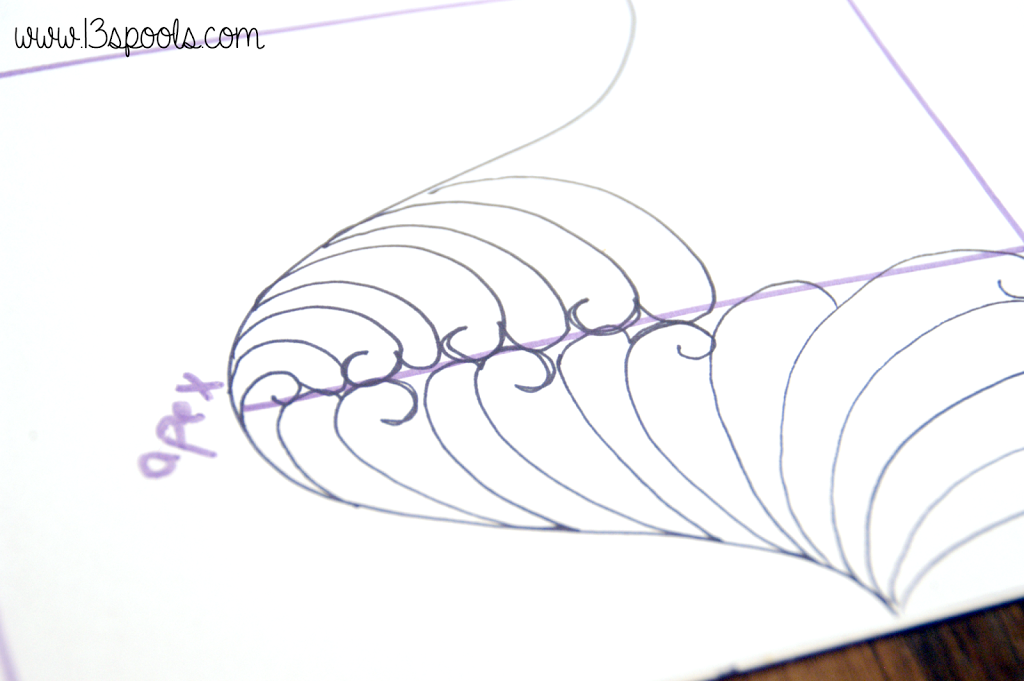
Step 4 | Quilt petals all the way into the apex of the curve
Now your petals will grow shorter and shorter as you work along that guide. Your last petal should land just next to the stem.
Once again, it can go past the (horizontal) guide if you can't fit an entire petal in neatly.
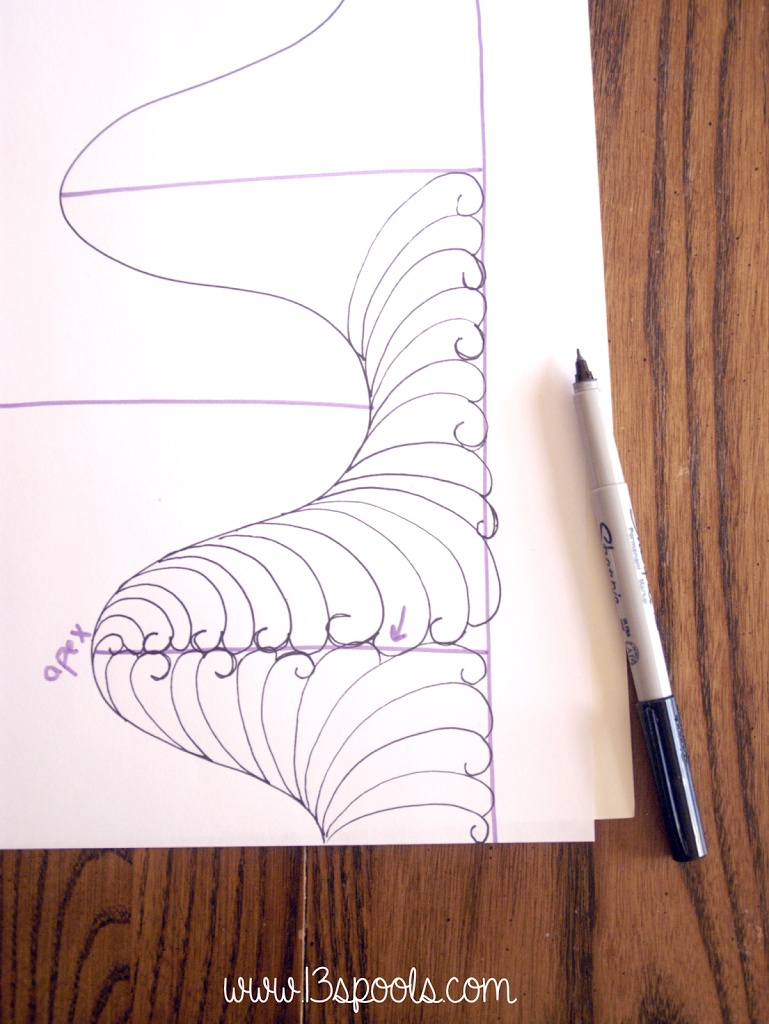
Step 5 | Quilt back out to the corner
As you are quilting back out to the side, you'll be quilting all the way back to the horizontal guide again. Now your petals will grow longer and longer. It might feel like they are curving a lot, but you are doing just fine! Quilt out to that corner and fit your petals in as neatly as you can. Remember, if you aren't trying to fit this in a border, then it's ok if you quilt a little short of or beyond the guide.
You may cross the horizontal guide in some areas to completely fill in any gaps - see where the arrow is pointing below:
Step 6 | Repeat!
Continue filling in the rest of the feather in the same manner. Once you get the hang of this method, it goes really quickly and you won't need to mark - just keep an eye out for the apex of each curve as you go!
When it's time to start on the other side, you'll want to act as though the bottom of the quilting area (or paper) is a horizontal guideline.
To cover a quilt, you'll just want to quilt a number of these feather columns - they'll fit together perfectly.
Mark and fill them in for beautiful zig-zag feather fillers!
This post is part of the Feather Free-Motion QAL - see all of the details and posts here!
