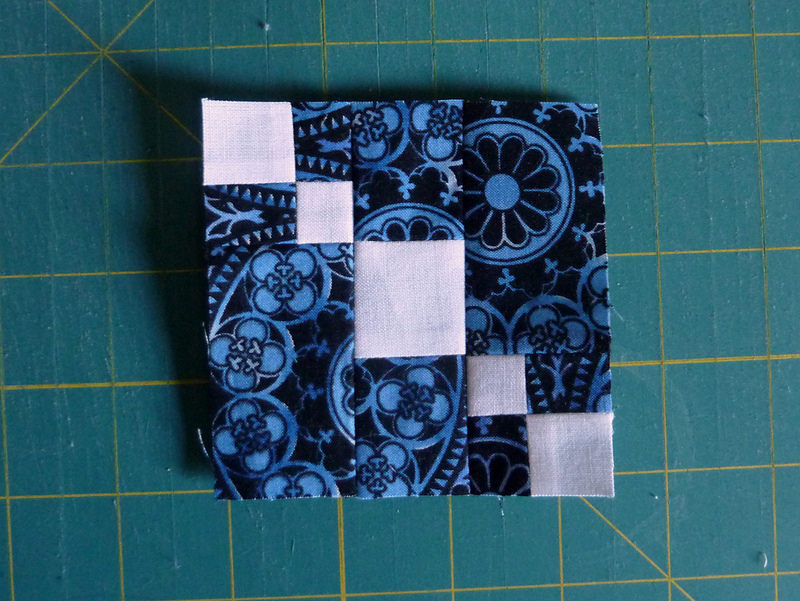
Pirate Block Tutorial
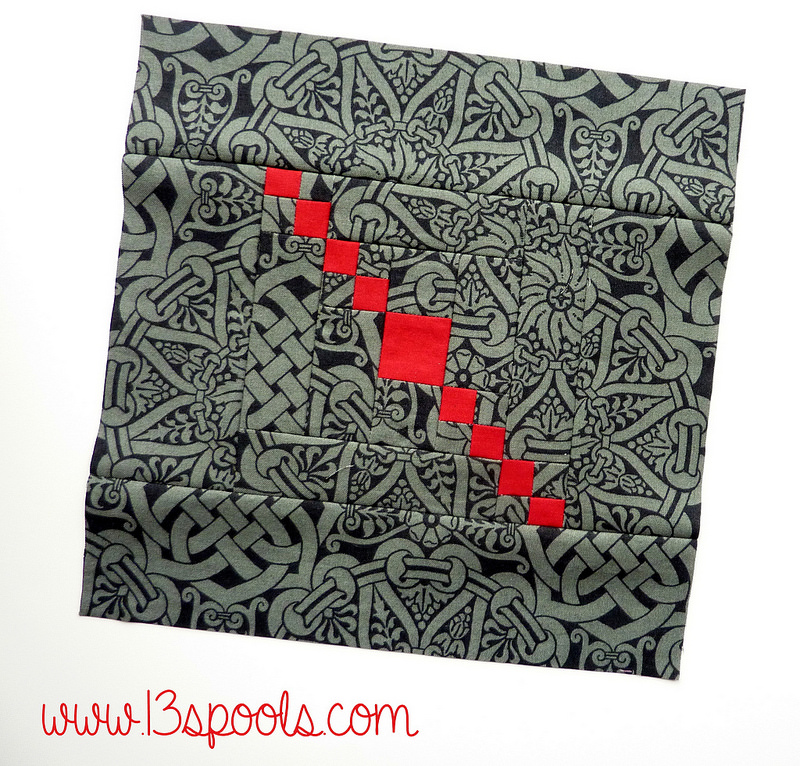
By reader request, I'm here today with a tutorial for my Naptown Stitcher's Pirate Block, which is a 9" block.
(As always, if you see anything on my blog you like, I'm more than happy to write a tutorial for it. Just ask!)
I made this block with a busy fabric for the background and a pop of solid for the squares, but obviously there are a lot of ways you could go with it. You could even use a variety of scraps for the squares, and I've included directions for that, too.
For one block, you'll need:
Background Fabric
(1) rectangle 1" x 9" ** for scrappy: substitute with (8) squares 1" x 1"
(2) squares 1.5" x 1.5"
(2) rectangles 1.5" x 2.5"
(2) rectangles 1.5" x 3.5"
(2) rectangles 1.5" x 4.5
(2) rectangles 2.5" x 5.5"
(2) rectangles 2.5" x 9.5"
Squares Fabric ** for scrappy, use a variety of fabrics (up to 9 different fabrics)
(1) rectangle 1" x 9" ** for scrappy: substitute with (8) squares 1" x 1"
(1) square 1.5" x 1.5"
Note: I sewed with a scant 1/4" seam and pressed all seams open, but press anyway you like.
Step 1: Creating the tiny squares
Sew together the 1" strips along the long side.
Cut into 1" sections. There is a little bit of extra length for wiggle room, but you will only need a total of 8 sections.
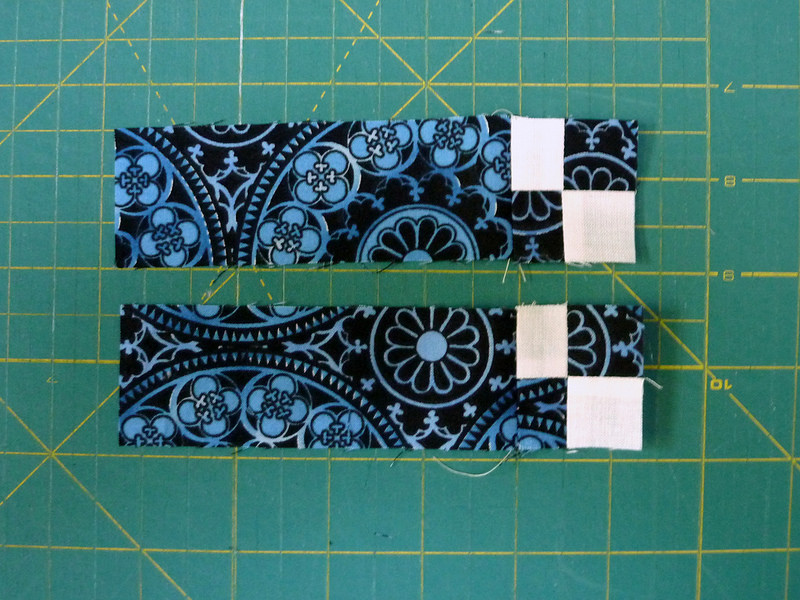
Sew the sections together in pairs to create 4 units.
Step 2: Assembling the logs
(This block is sewn log-cabin style, and some of the "logs" are pieced.)
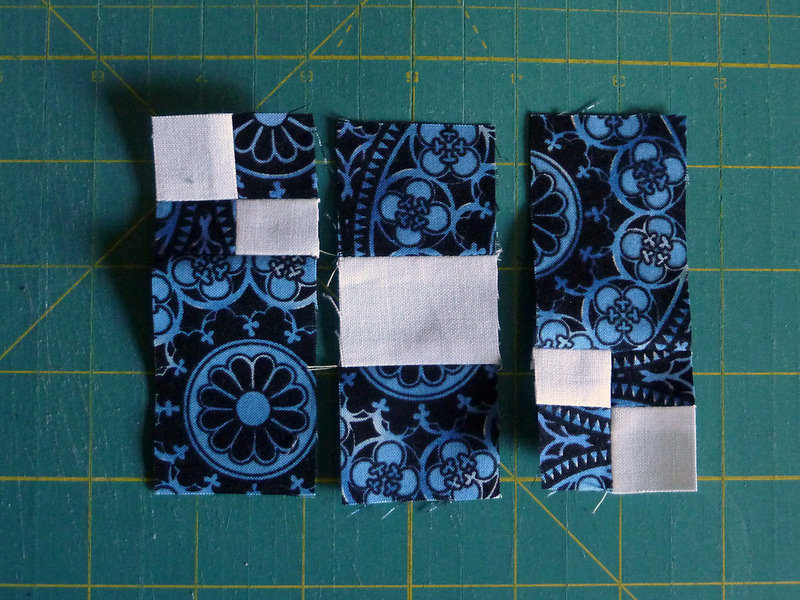
Sew one unit to each of the 1.5" x 2.5" and 1.5" x 4.5" rectangles. Refer to the photograph for proper orientation (it matters!).
Step 3: Assembling the block
You will assemble this block in log-cabin style, starting with the shorter logs and working your way up.
First, sew the 1.5" background squares onto each side of the 1.5" solid square.
Then, sew on the short logs with squares.
Finally, sew on the 2.5" strips.
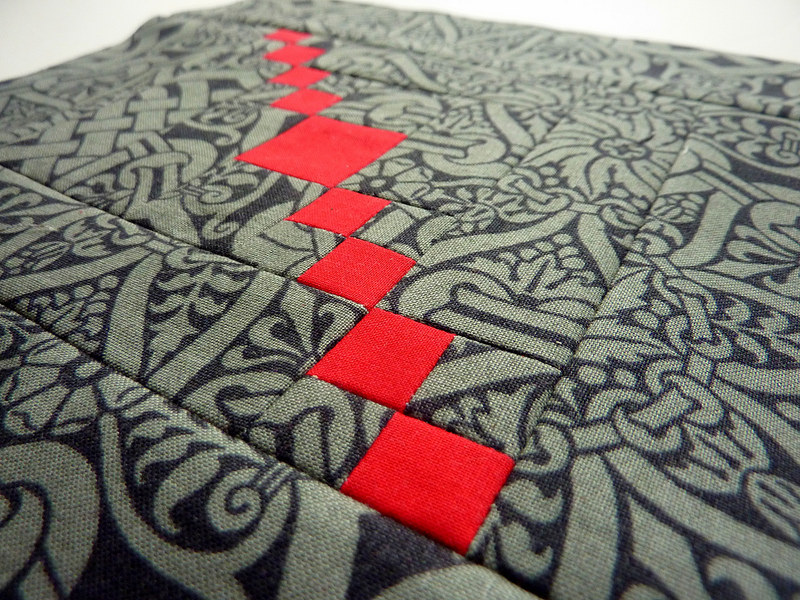
And now you have a finished Pirate Block!
