Paper Piecing Instructions: Part II
These instructions cover the basic technique of paper piecing. For Part I: Supplies & Setup, see here. For Part III: Tips, see here. I learned this method from Elizabeth at Inspire Me Grey, so be sure to check out her awesomeness!
I wrote these instructions using the Prism pattern, which has no overlapping seams. If you are using a pattern with overlapping seams, be sure to see that section at the bottom of the tutorial!
Step 1
Cut your fabric to size. If your pattern does not suggest measurements, you'll want to make sure all the pieces you cut extend at least 3/8" out from the shape you are going to cover on all sides. The steeper an angle the pieces are set at, the more fabric you'll want to add for buffer space.
If you are making the Prism quilt, see the bottom of this post for fabric sizes.
Step 2
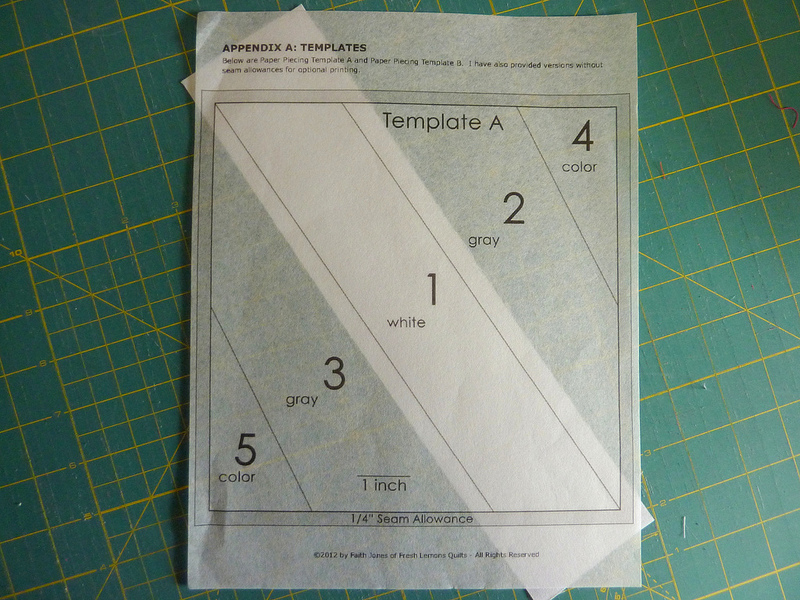
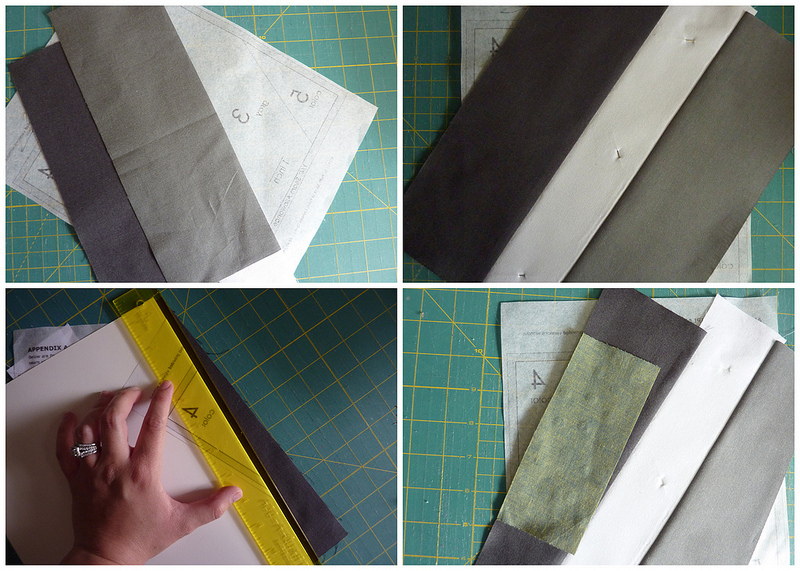
Start by pinning fabric 1 to location 1 on your template. You will place your fabric on the BACK (non-printed side) of your template, but your pins can be on either side. The WRONG side of your fabric should be touching the paper.
Optional: try using a washable glue stick instead of pinning!
I used transparent foundation paper, which makes it very easy to place the first piece. If you are using opaque paper, simply hold it up in front of a window or light to check for accurate placement.
Step 3
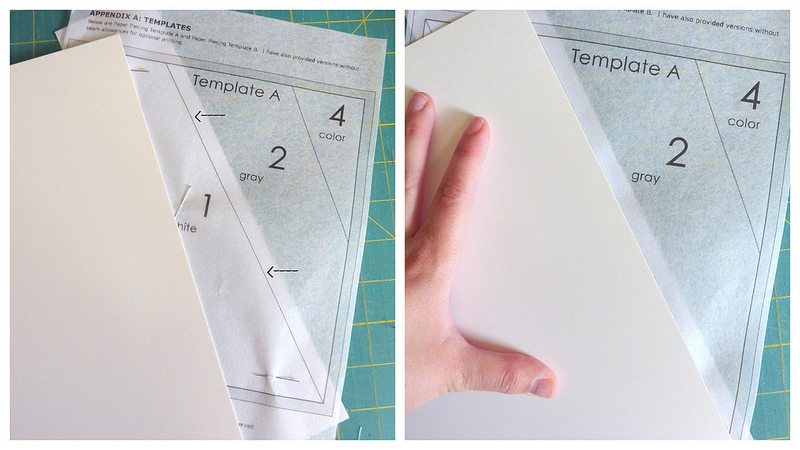
Place the template on your cutting mat, printed side up. Locate the first seam you will be sewing - it will be the seam between piece 1 and 2. Place your piece of cardboard along that seam.
Step 4
Fold the template only back over the cardboard. Place a ruler along the fold to cut a 1/4" away from the fold.
You can use a gridded ruler, but I prefer to use the Add-a-Quarter ruler. It will bump up against the cardboard. Cut with your rotary cutter.
Step 5
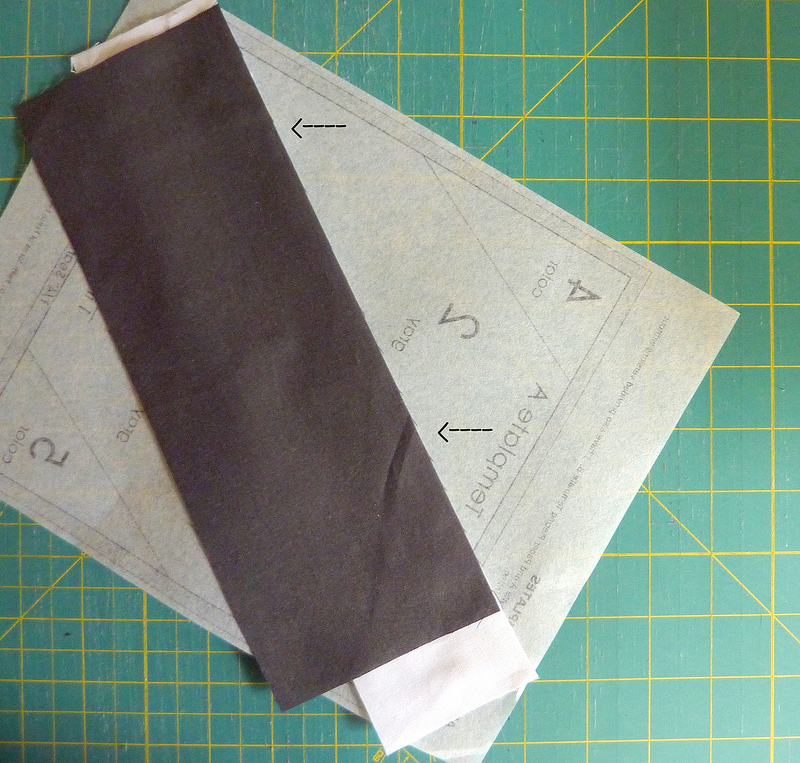
Place fabric piece 2 (the piece of fabric that will end up covering section 2 on your template) so that it lines up with the freshly cut edge of piece 1. The RIGHT sides of your fabric should be together.
You'll want to make sure it goes past the seam allowance on each side:
Step 6
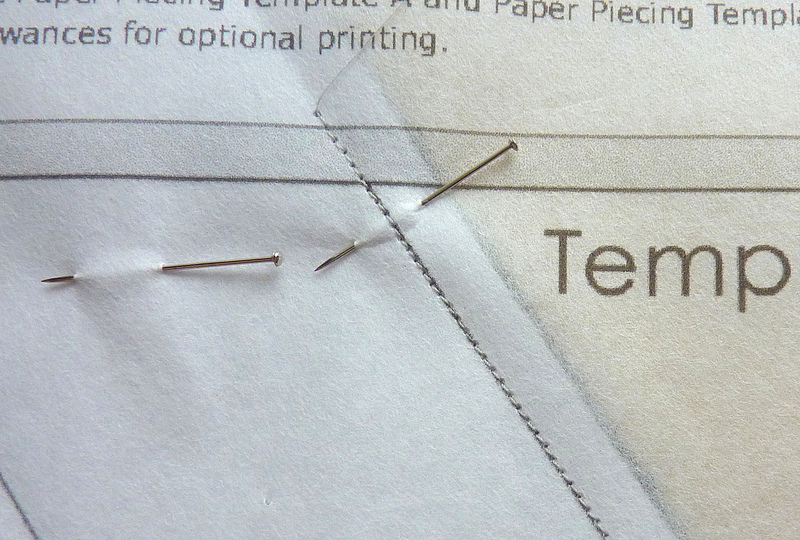
Pin and flip. Or hold onto the fabric carefully, flip, and then pin. Either way, you'll want to make sure fabric 2 is pinned along the seam line.
Step 7
Time to sew! Decrease your stitch length to 1.5. You'll be sewing on the printed side of the template, with the fabric underneath. You'll sew along the line between piece 1 and 2, starting a little before the line.
If you are sewing a seam that touches the edge of the quilt block (like here), you'll want to start sewing all the way before the edge of the quilt block, lining up your stitching with the seam line.
Step 8
Flip the template over to the fabric side. Open the fabric and press open. Foundation papers are generally ok with starch, if you like to use it!
Step 9
Now you'll repeat steps 3 - 8 with all your other pieces (in numerical order) until you've covered your template. See? Easy! You can do that :)
Here I am doing some of the next pieces:
Step 10
When you get done attaching your pieces, your block will look kind of funny! No worries, time to trim it down. Place your block fabric side down on your cutting mat, making sure none of your fabric has folded over. Use your ruler and rotary cutter to trim along the outside of the block.
This is what your finished templates will look like, front and back:
Step 11
Remove the foundation paper. Now, some people prefer to do this before joining blocks, and some prefer to do it after joining the blocks. I prefer to sew all my blocks, arrange them, and then try joining some blocks with both methods (removing papers before v. after). I find that some patterns are easier to join with the paper, and some without, so I wait to test the waters before removing all the papers. But to each his own!
Overlapping seams
Does your project have overlapping seams?
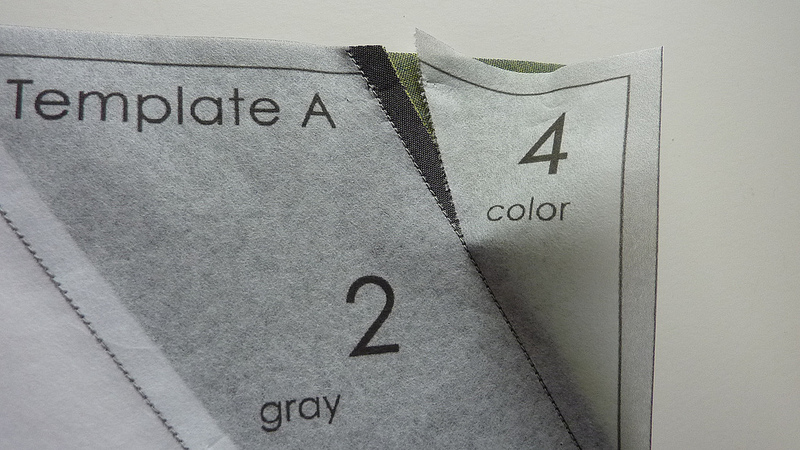
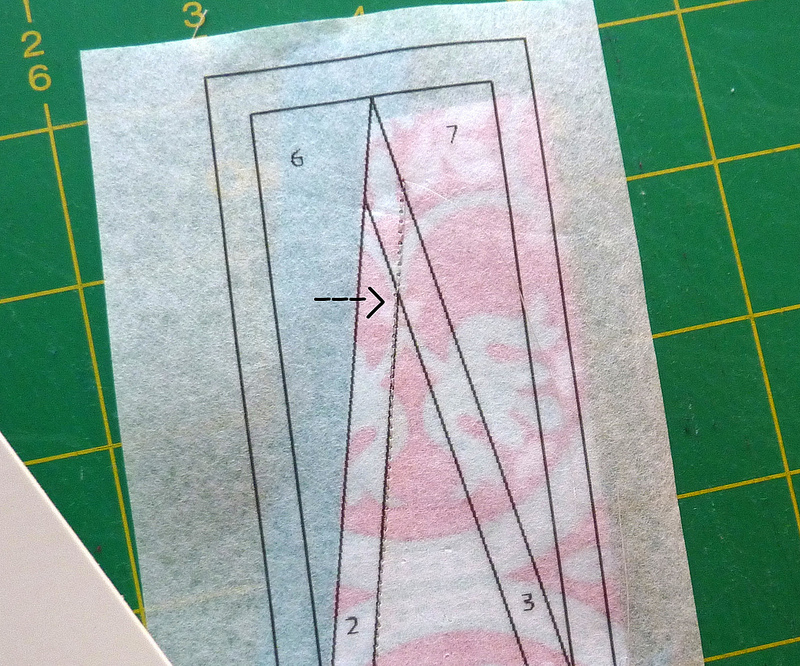
You'll definitely notice when it comes time to fold the template over the cardboard (step 4). Here, I have already sewn on piece 2 and need to sew on piece 3, which will overlap the previous seam. Now I need to trim the fabric. Place the cardboard along the seam line as usual.
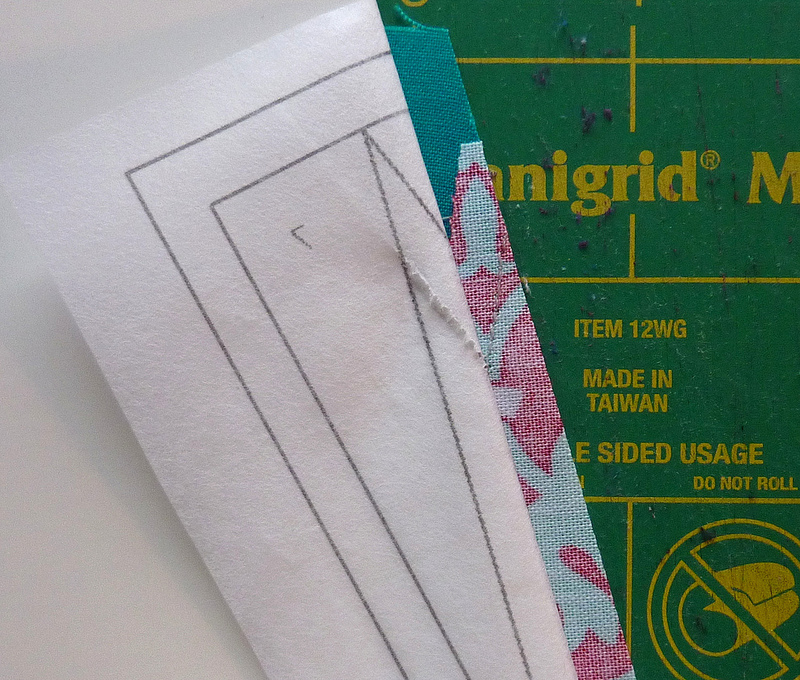
Start folding the template back over the cardboard. The fabric will start to come with it. Hold down the template on the left and hold or tug on the fabric on the right. The goal is to rip the paper right at that part of the seam so the fabric can lie flat.
Finally, use the ruler and the rotary cutter to cut your fabric.
All done! Happy paper piecing :)
A lot of you are here for the Prism Along. You can find all of the posts here. Let me know if you have any questions!

